I had a really comfy white shirt that I liked to wear a lot! One day, I looked down and saw an ugly stain of unknown origin. I immediately thought, "I think this shirt is 100% cotton and I could dye it," (light bulb over my head). Then I thought, I could do a neat Shibori technique, stitching and gathering, on it and turn it into a one of a kind piece of wearable art. So, here is how I did it...
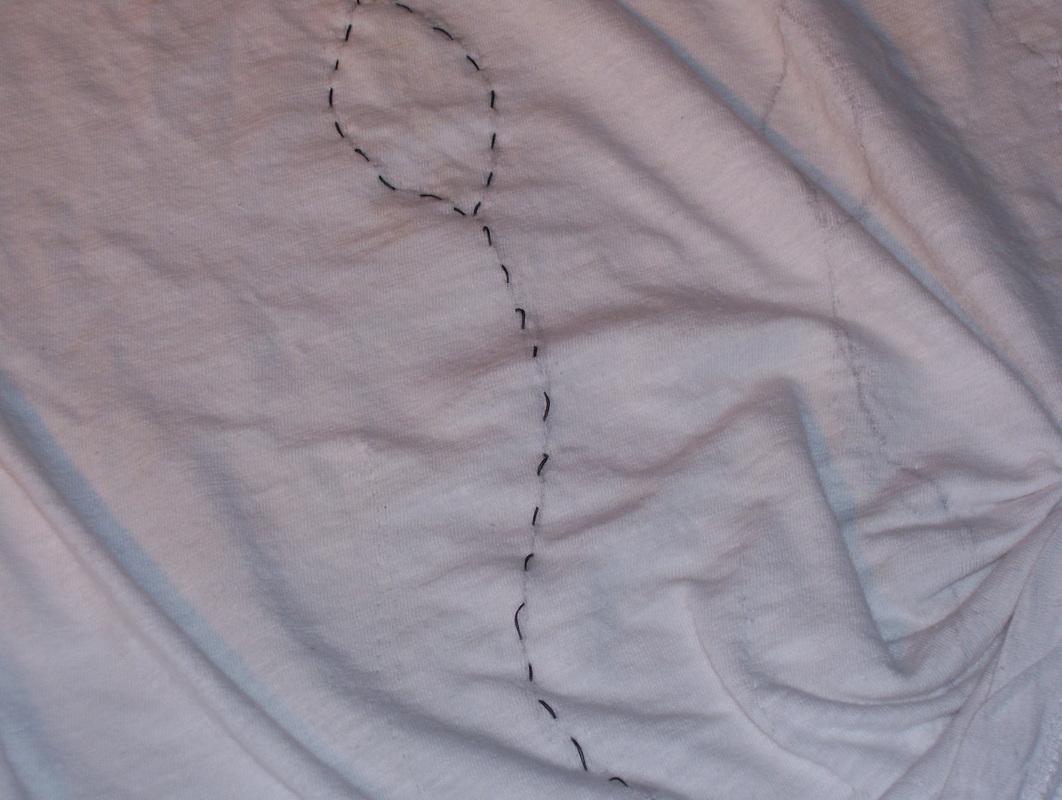
First, I sketched some random leaf shapes with long, wavy stems with a light pencil. Then I hand stitched each part of the shape separately, this is important. Notice my stitches are uneven, that's okay, it really doesn't matter. I stitched the front and back of the shirt at the same time, so I have a design on the front and back of the shirt, you may choose to just do the front if you'd prefer.
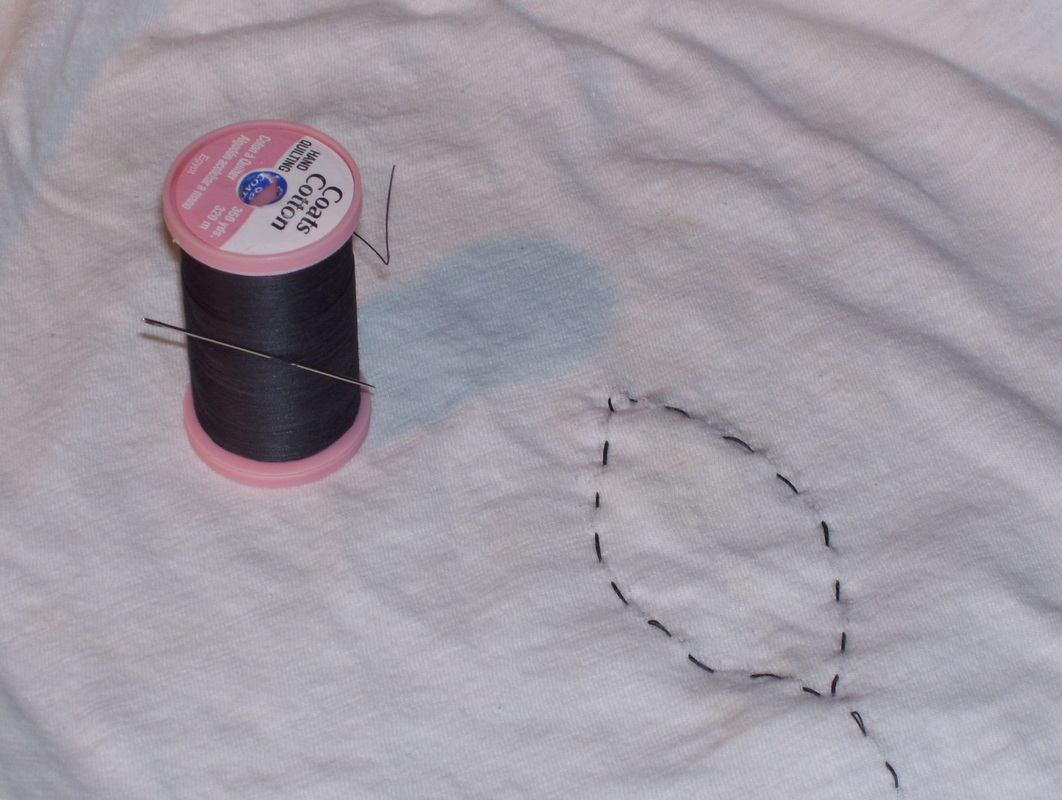
It's important to use a strong, heavy weight of thread, because if the thread breaks, you'll have to restitch it. I've used double strands of a hand quilting thread, which works great. Another important tip is to begin and end your stitches on the same side of the shirt. In other words, if you come up from the bottom/back of the shirt for your first stitch, then go back down to the bottom/back with your last stitch, you thread must begin and end on the same side of the shirt. Also, leave a little tail long enough to make a knot hanging down on each section.
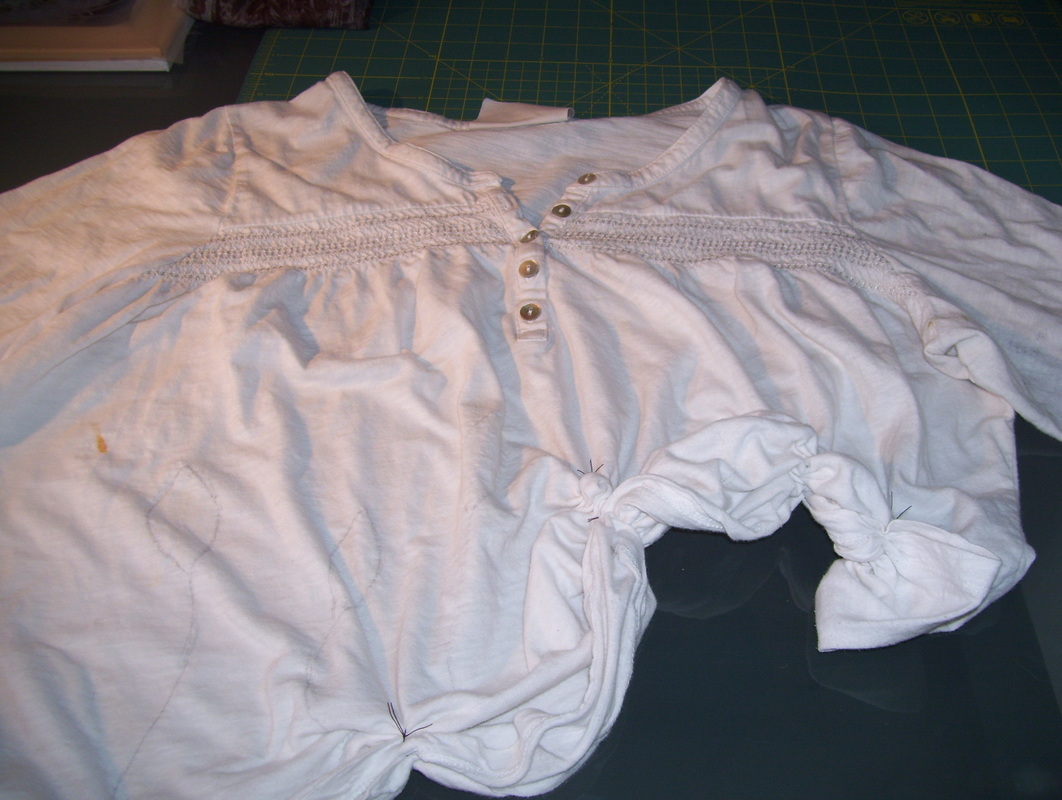
See my ugly stain! It's best to start on one side, right or left, and work your way to the other. Less @#*!!**& that way. Remember, stitch the leaf shape and the wavy stem separately, otherwise the design will not be distinct. Once you've stitched each section, pull the threads and bunch the fabric up as tight as you can. Holding the fabric tightly, tie your ends together with double knots, then trim your excess thread away.
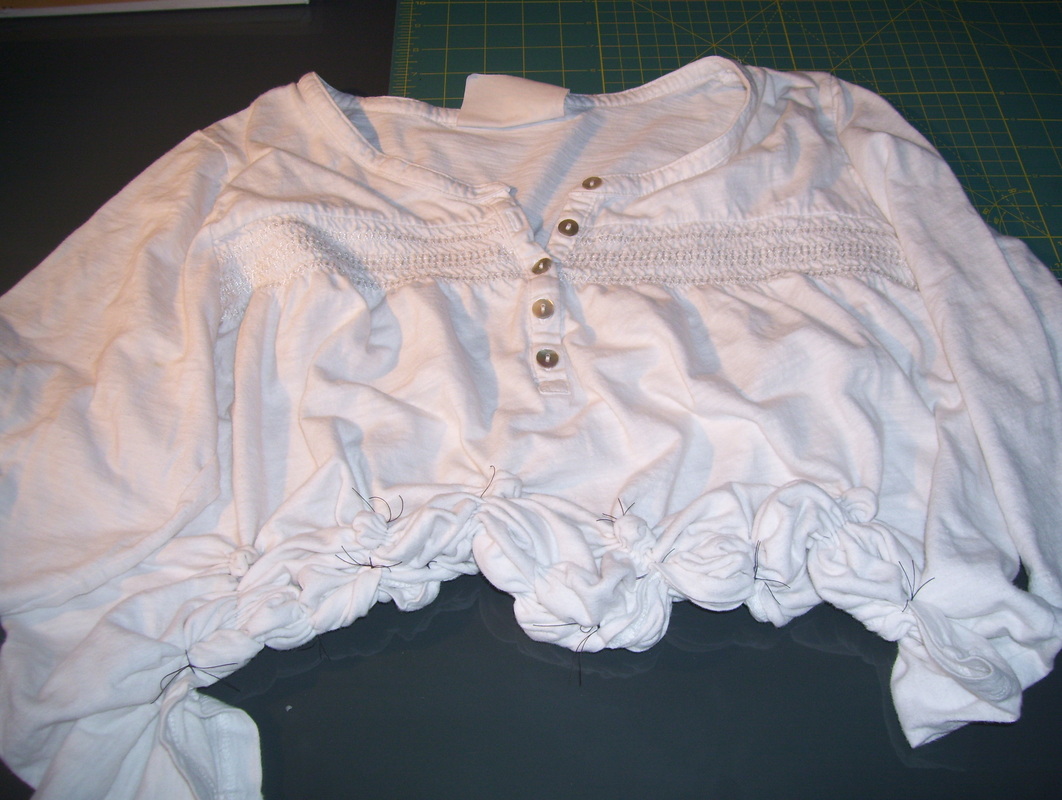
Once you have stitched and tied all of your loose ends, you will think, "this looks awful, I know I've messed this up." If you think that, you will probably be very pleased with the outcome. If you've stitched the elements separately, pulled the fabric tightly together and double tied the ends, then you've done it correctly, and now you're ready to dye it. The areas where you have stitched and gathered will remain somewhat white or at least lighter.
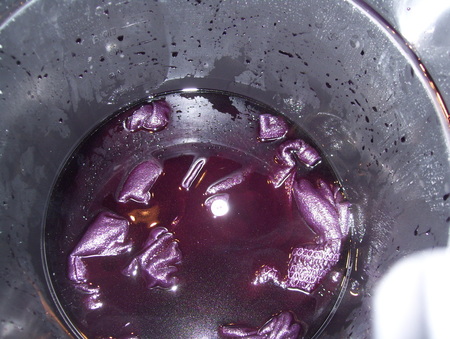
I love the color of eggplant, so I wanted my new-old shirt to be that color in its new life. I put about three teaspoons of urea in warm water, added about 1/3 cup of non-iodized salt and shook it up in a sealed sauce jar until it was all dissolved, I then added about one table spoon, plus a little more of fiber reactive dye (all the eggplant dye I had left, probably would have used twice that if I'd had it), and shook that equally well in the jar and added it to about four cups of hot water in the bottom of my bucket. After stirring for a while, I added my stitched and gathered shirt. Now, I didn't care if I had even color or not, so I stirred the bath only a few times during the hour and a half that it was in there. If you want more even color, stir it every five minutes or so for that amount of time. After about 20 minutes in the bath, I was ready to add the fixative to make sure the dye bonded with the shirt properly. In the same sauce jar, I mixed three teaspoons of soda ash, I use the kind from the swimming pool section of Lowe's--click on the photo for a link to that supply--it's cheaper than from dye suppliers, into a half a jar of hot water, and shook it up until dissolved. I moved the shirt to one side of the bucket and carefully added the soda ash mixture slowly into the bath. You don't want to pour this in on top of your shirt, as it will cause splotching, and not in a good way. Once it is all added in, stir the bath and your shirt well. The shirt stays in the bath for a total of at least one hour to one hour and a half. You can go more, but you don't need to.
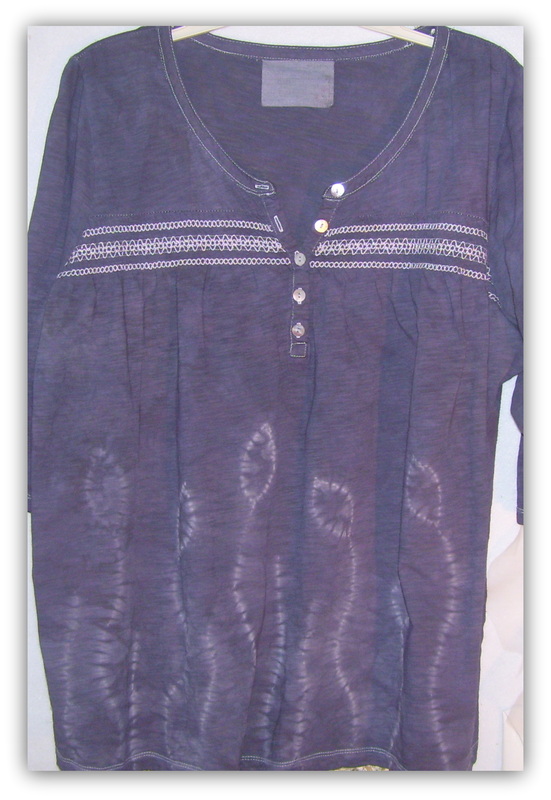
Here's the finished piece after I rinsed it well and washed it with Synthrapol textile detergent in the washing machine. Notice that the stitching around the collar and across the bodice of the top did not dye the purple color, that is because this shirt was not stitched in cotton by the manufacturer. I like this look, but if you don't you'll need to consider this when you give your old shirt new life like this. Notice the leaf shape to the far left is a little less distinct than the others, that one did not get tied as tightly as the others, so more dye seeped into the gathered places. Now I can wear my favorite old tee again, but now she has a fresh new look. I'm pleased with the outcome, and would definitely recommend trying this.
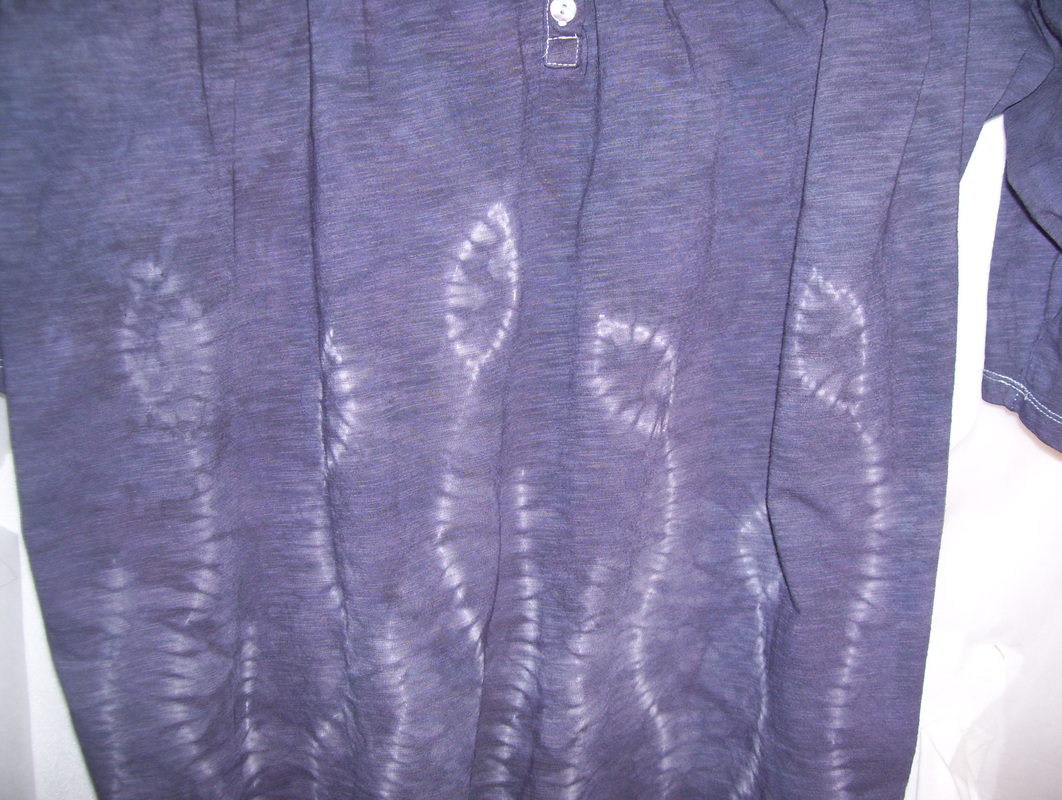
Here's a close up of the stitched and gathered effect. Send me your pictures of your stitched and gathered shibori shirts/wearables/fabrics--whatever. Remember, if it's cotton or silk or rayon or viscose or linen, or any other natural fiber, it will dye with fiber reactive dyes. I'd love to see your projects!

This is an excellent book about Shibori techniques done by Lynne Caldwell! Tons of excellent pictures and step by step instructions. An excellent resource to have on your shelf to refer to over and over. The technique I used on this shirt was featured in this book.

 RSS Feed
