Workshops
Shibori Workshop at the Upstairs Downtown Studio
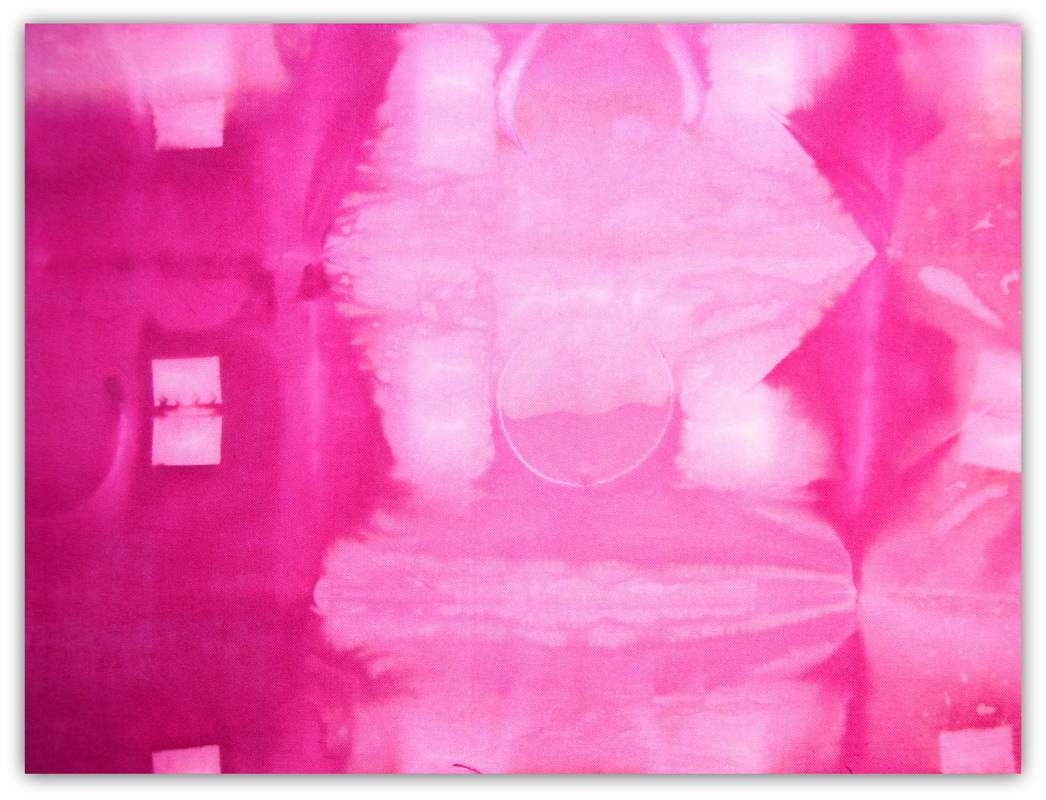
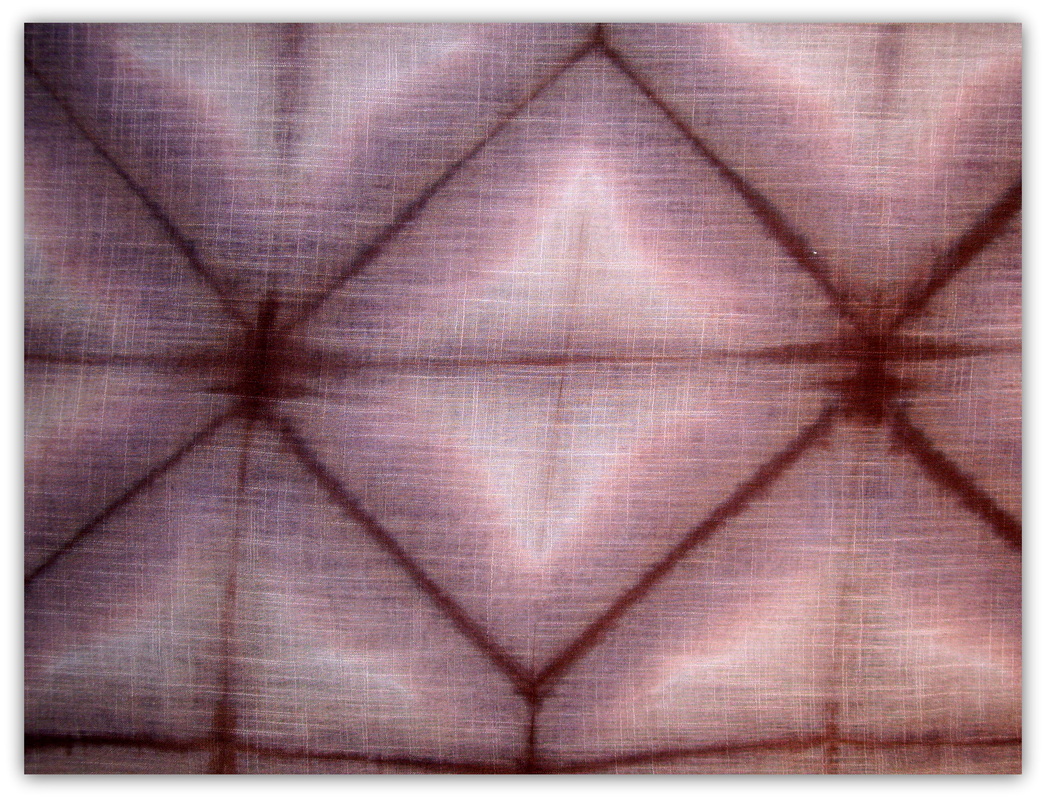
On May 18th we gathered in downtown Morganton, NC for a fun filled afternoon of learning the techniques of Shibori dyeing, a Japanese form of dyeing which creates beautifully unique patterns on cloth. We had an amazing time together exploring the ancient techniques of Shibori employed by many fiber artists around the world!
Beginning Batik Workshop in September @ Valdese Heritage Arts Center
With melted soy wax, tjanting tools, brushes, and dyes, everyone in this workshop created something magnificent! What a wonderful day we had creating together. This group proved that you don't have to be an expert to make something beautiful and interesting with the batik technique! Check out our slideshow below:
Fabric Dyeing Workshop @ the Valdese Heritage Arts Center August 2012
What a wonderful time we had, the four of us, learning and exploring the joy of hand dyeing fabric! The art center was full of excitement as the students engaged in the art of dyeing and learning the in's and out's of this incredible medium!
Patton High School Workshop May 2012
I was recently invited to Patton High School by Robin Bias, Art teacher and department chairperson, to teach a workshop on Shibori. The students were able to choose ahead of time whether they wanted to make a silk scarf or a cotton bandana. They seemed to have a wonderful time and seemed very pleased with their end results. I think they did an amazing job! Enjoy the slideshow of pictures taken during this workshop which ended up lasting two class periods, and we wished we had longer.
Valdese Rock School Workshop October 2011
Last summer I was invited to teach a workshop on Shibori at a local gallery and studio called the Old Rock School of Arts, located in Valdese, NC. We had a wonderful time dyeing silk scarves in a myriad of different Shibori styles. Here are a few pictures from the workshop and there's a gallery of Shibori samples further down on this page. See the Techniques Page for more information about Shibori.
Workshops I Teach
If you have a quilting guild or group that would like to know more about dyeing your own fabrics for quilts or other projects, and are looking for someone who can teach different surface design techniques to your group, then take a look at the list of workshops below that I can come and teach your group; or if you are local, I can arrange to teach them in the studio at the Old Rock School of Arts:
Shibori:
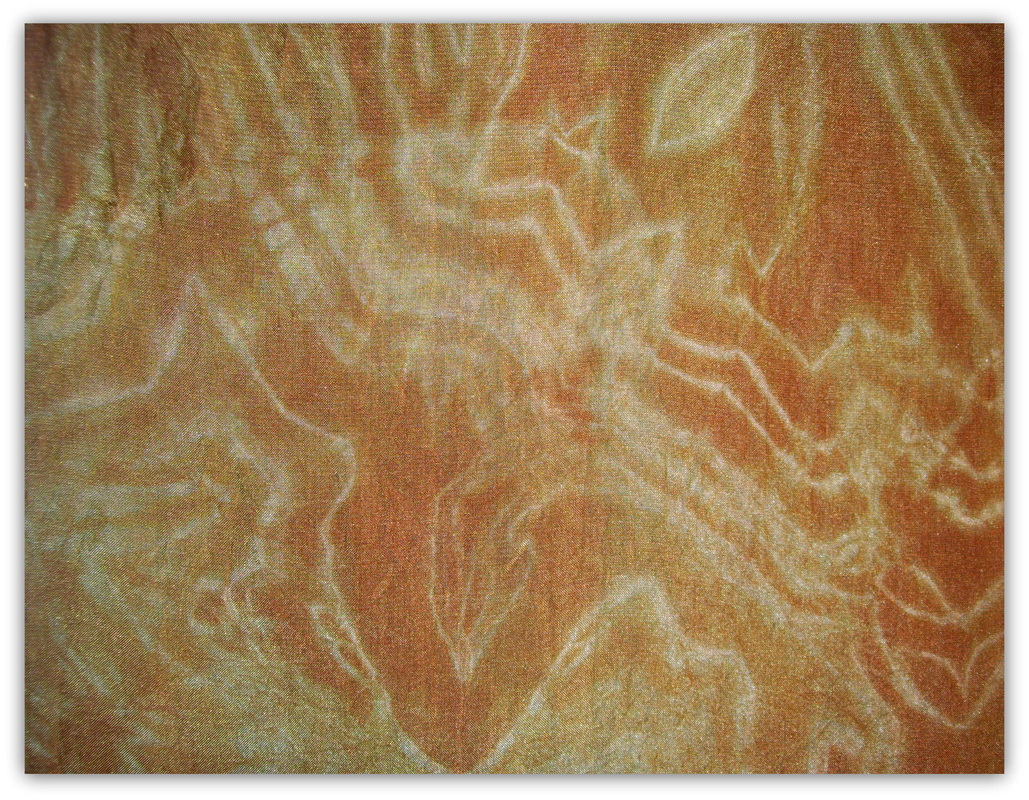
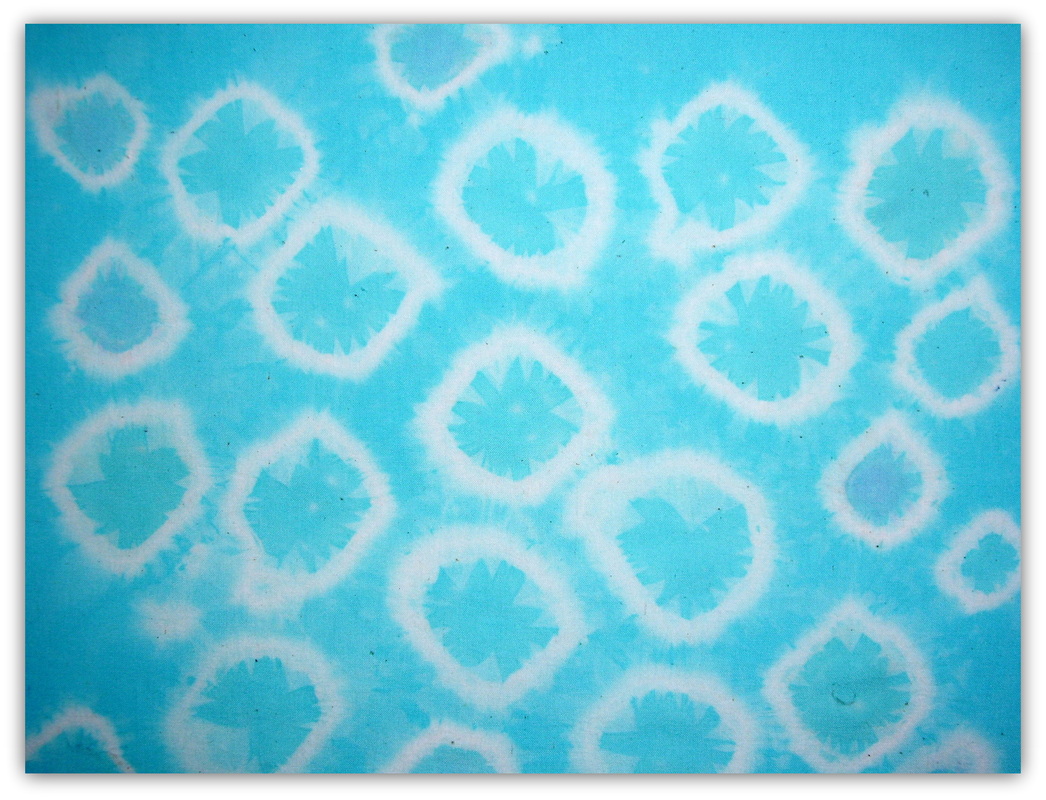
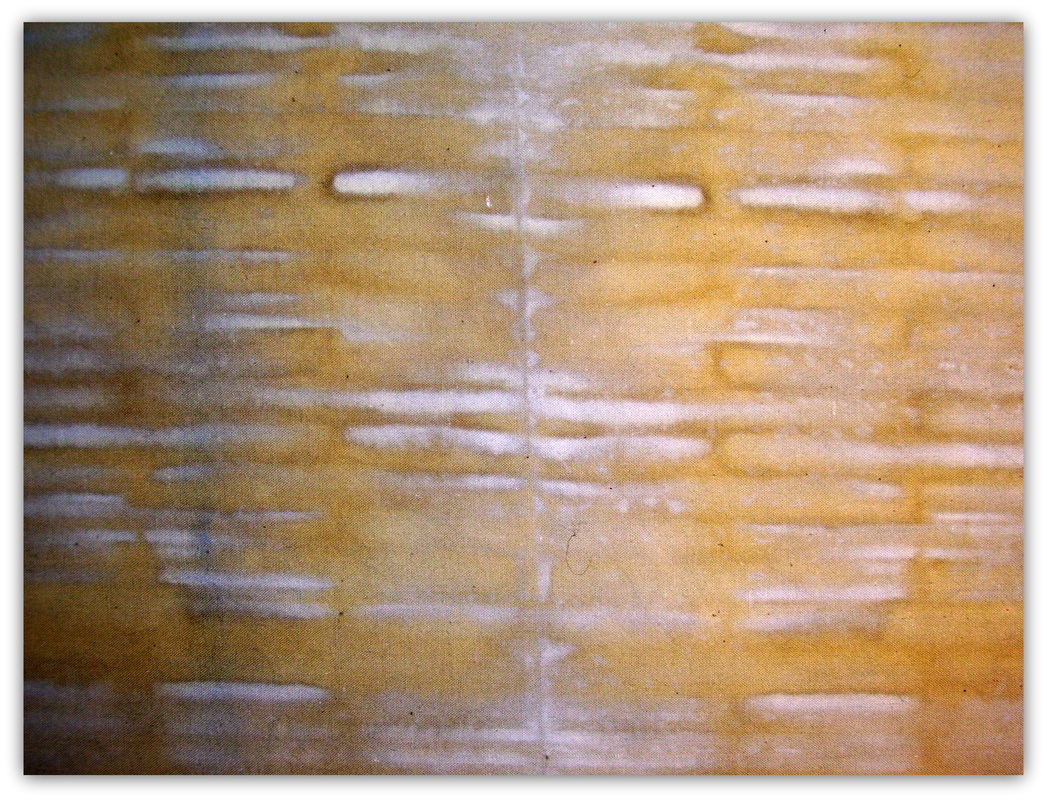
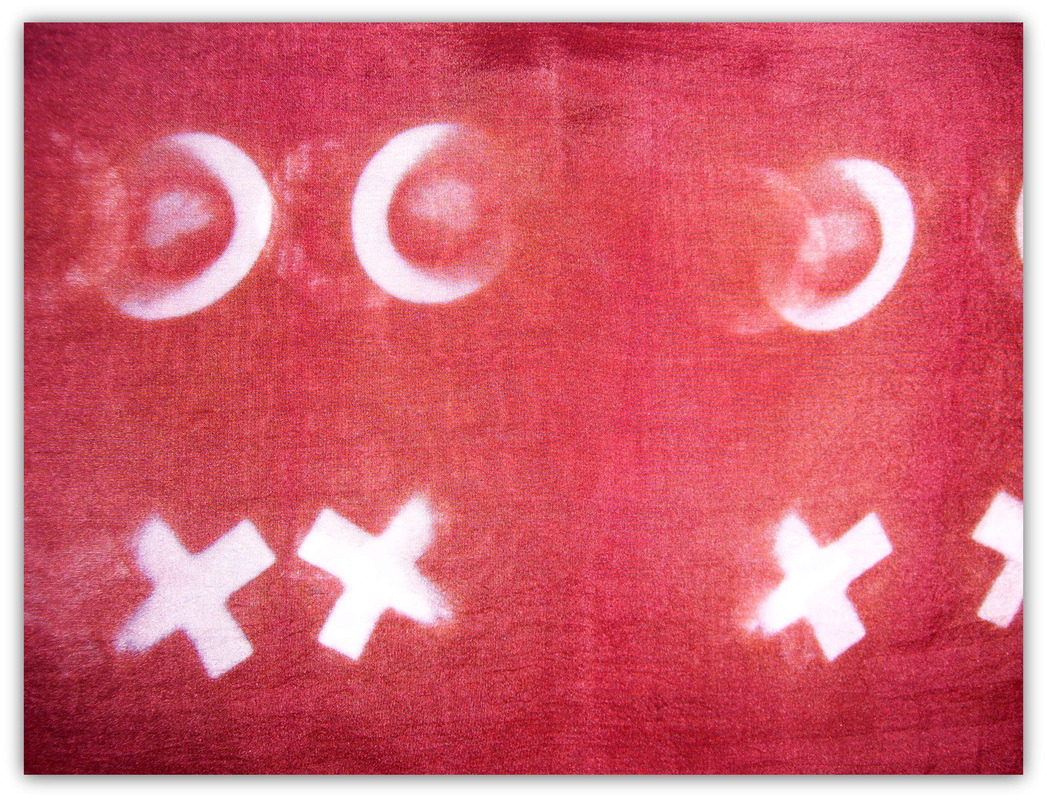
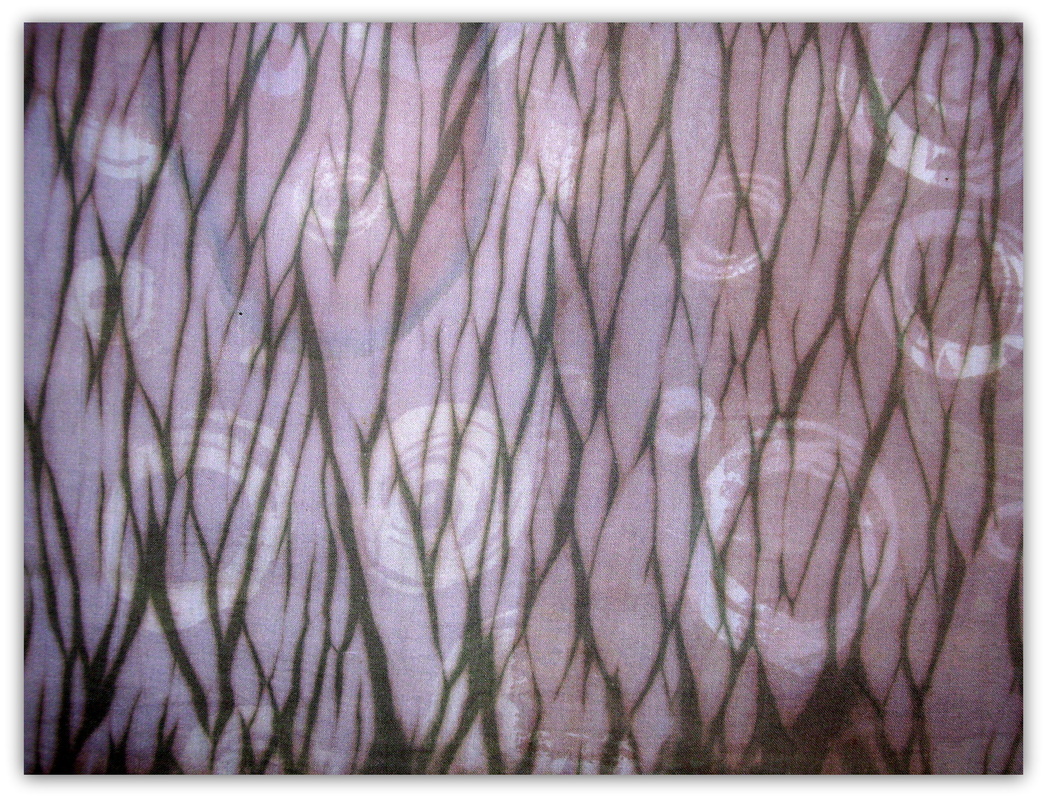
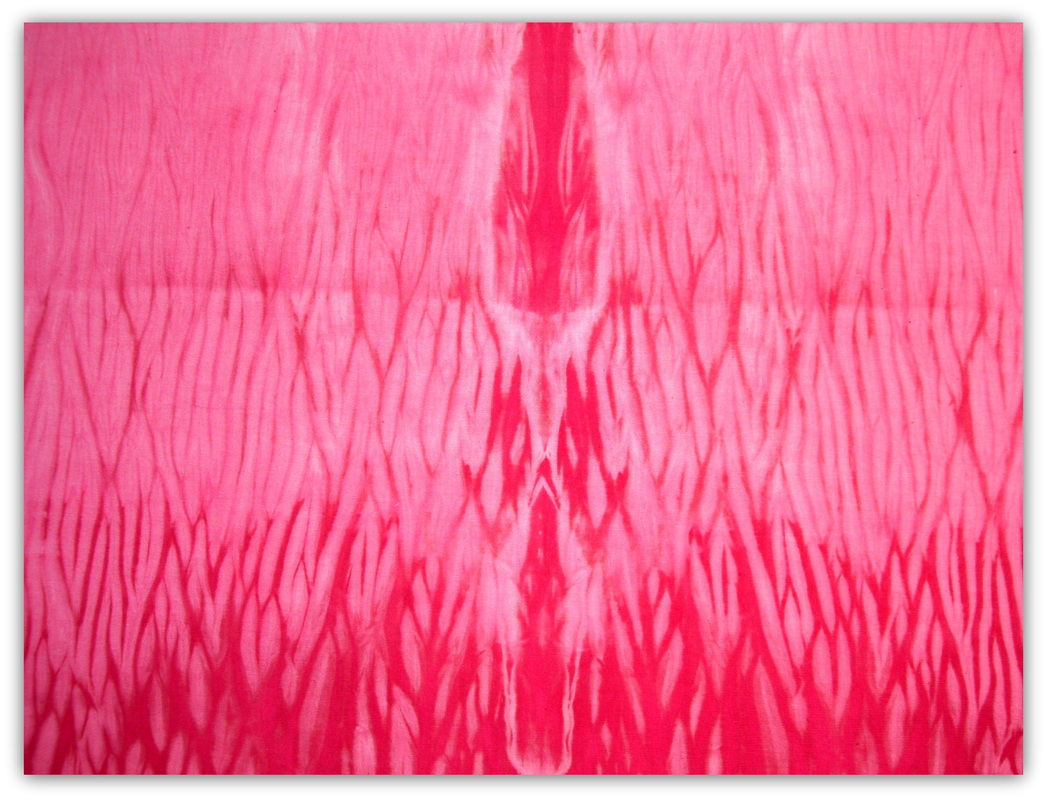
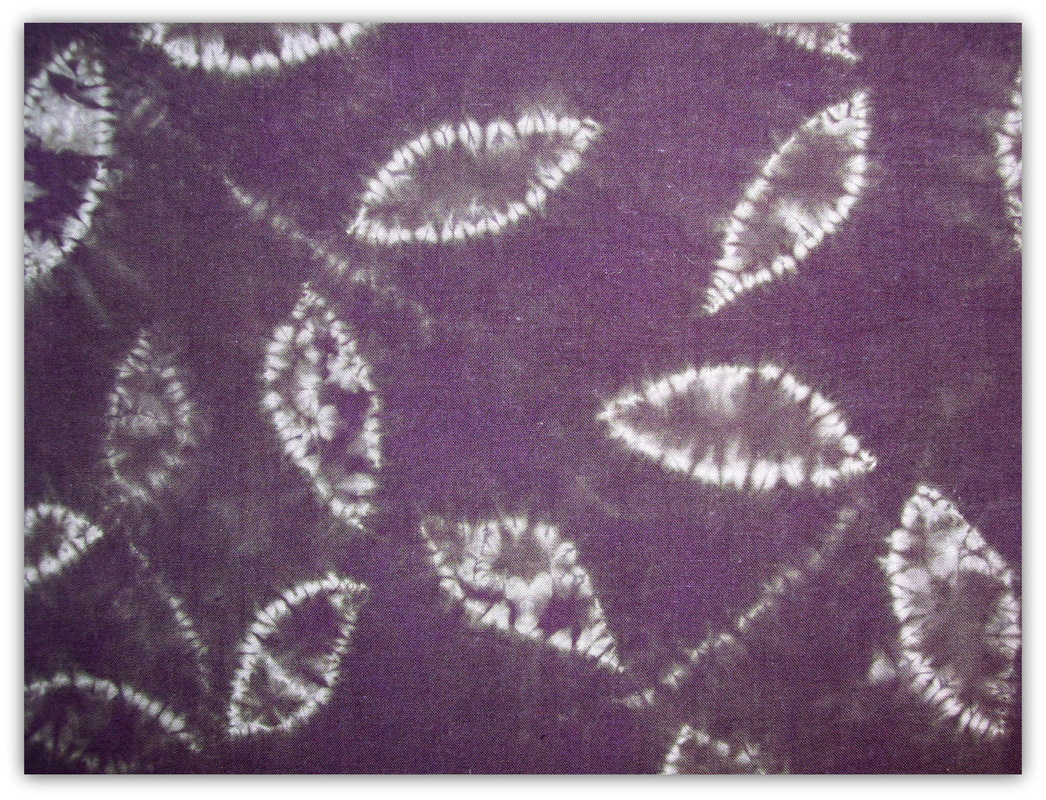
Learn the Japanese art of Shibori. This method incorporates tying, binding or folding fabric to create resisted areas (areas that will receive no dye in the dyeing process), which make beautiful patterns on your fabric. See the samples below to get an idea of some of the possibilities. Six hour class, no experience necessary, $50 per person, includes fabric and Shibori/dyeing materials, and group pays travel expenses. See the gallery of samples for this workshop below.
Dyeing/Low Immersion Dyeing:
Participants will learn how to dye fabrics using Fiber Reactive Dyes and learn how to use the various chemicals involved (dyes, urea, sodium carbonate, synthrapol, non-iodized salt, and calsolene oil) safely and effectively. Six hour class, no experience necessary, $50 per person, includes fabric and dyeing materials, and group pays travel expenses.
Screen printing With Thickened Dyes:
We will use simple, fun and improvisational ways to screen print with Thickened Dyes. Participants will learn how to prepare the thickened fiber reactive dyes, which may then be used like paints. We will utilize paper cut outs, various found objects and even plants and leaves for natural and organic printing--the sky's the limit. Six hour class, no experience necessary, $50 per person, includes fabrics and all screen printing materials, and group pays travel expenses.
Deconstructed Screen printing:
This fun and expressionistic method of screen printing will knock your socks off! We will use thickened dyes and an easy and intuitive method of screen printing with a ton of different materials. These pieces are interesting and really indescribable. If you like unusual, unique surfaces and textures, this is the workshop for you! Eight hour class, no experience necessary, $50 per person, includes all fabrics and deconstructed screen printing materials, except for whatever interesting pieces participants want to bring in to play with, and group pays travel expenses.
Soy Wax Batik:
Batik with soy wax is fun, safe and easy. Participants will learn how to use simple materials to produce complex cloth using the soy wax, various tools for stamping shapes and fabric paints or dyes to add color to their fabrics. Learn to use the tjanting tool also, if you would like to make more figurative fabric paintings. Eight hour class, no experience necessary, $50 per person, includes all fabrics and soy wax batik materials as well, and group pays travel expenses.
Flour Paste Resists:
Create truly stunning fabrics using an old kitchen staple, plain old white flour. We're not making biscuits, we're going to mix up some good old fashioned fun though! This technique involves mixing flour and water into a paste, which is applied to the fabric, then either crackled, or marked or inscribed in some way, to produce the most amazing effects on fabric. Paints or dyes are applied once the flour paste is dried and the areas that have the past act as a resist, keeping the colorant from reaching those areas. The result is beautifully patterned cloth that is sophisticated and impressive. Eight hour class, no experience necessary, $50 per person, includes all fabrics and resist materials, as well as paints or dyes, and group pays travel expenses.
Fiber Art Therapy:
Learn to use your fiber art as a therapeutic tool to address emotional issues such as depression, grief and loss, anxiety and relationship problems. In this workshop, I get to meld my two favorite worlds, helping others through counseling and making fiber art. You will be amazed at how healing making art can be when you are intentional about it. We use a bunch of different techniques and mediums in this workshop. If you are more interested in mixed media than fiber, we can go that route also. This workshop really can be tailor made to suit what is needed in each group. Six to eight hour class, depending on what is needed, no experience necessary, $50 per person, includes all fabrics and materials, and group pays travel expenses.
Check out this awesome video on how to batik fabric!
Shibori Workshop Samples
Techniques
There are tons of ways to transform a piece of white or cream fabric into something unique, unusual and all your own. Here is a list of some of those methods and a basic description of each one. I have included links to informational websites and resources, when possible. Also, keep in mind that there is an awesome resource now for printing yardages of your favorite new designs on fabric. It's called Spoonflower .
~~~~~~~~~~~~~~~~~~~~~~~~~~~~~~~~~~~~~~~~~~~~~~~~~~~~~
Dyeing Fabric: You can dye fabric using several different kinds of dyes, for a complete list of types of dyes and lots of information about them, check out Dharma Trading Company. I love this company and their website, I typically order all of my dyes, Fiber Reactive Dyes are my favorite, and other surface design materials from them. They are easy to use, come in many colors, give strong, long lasting color, and are economical. Paula Burch also has an extremely informative website about dyes and dyeing of all kinds. In a nutshell, dyeing fabric is taking the synthetic or natural dye sources and adding them to the fabric by way of a dye bath, painting it on, or low immersion method and making sure somewhere in the process you add a fixative to the cloth you are dyeing. Ann Johnston has a great book about the last method here.
Shibori: Shibori is a Japanese method for tying, binding, or clamping and folding fabrics and then dyeing them in a dye bath or painting them with fabric paints to produce interesting patterning on cloth. Here is an excellent book on the subject. See my workshop samples for an example of what Shibori looks like, here.
Thickened Dyes: I use thickened dyes all the time. Using a food grade thickener called sodium alginate, a seaweed derivative, with water and urea mixed in a blender and then refrigerated for at least one hour, then mixed with dye powder, will make your dyes behave like paints. They can then be used to screen print, stamp, use with thermofax screens, paint onto fabric, batik and basically anything you could think of to do on fabric. I'll send you back to Paula's website for more about this technique.
Batik: Batik is an ancient Indonesian art that involves putting melted wax onto fabric using a tjanting tool or brushes, then color is added through dyes or paints in a succession from light to dark. You can use the tjanting tool to make really thin lined and intricately detailed pieces or use household objects that are metal or highly heat resistant, such as cookie cutters or potato mashers. You can use a combination of beeswax and paraffin wax or you can use soy wax, the main difference is that the combination batik wax has to be ironed repeatedly, boiled or dry cleaned to remove the wax once you have dyed the cloth, while soy wax can be washed out with hot water from your faucet. For this reason, I generally use soy wax now. People who are serious about batiking large yardages of fabric may choose to use a block, copper printing tool for batik called a tjap, check those out here.
Discharging Fabric: We call removing dye from fabric discharging it. You do this by using a discharge paste, my favorite kind is Jacquard Discharge Paste. You can paint it, screen print it, thermofax screen print it, stamp it or stencil it on, usually with a squeegee or a foam brush. Once you've applied the paste to the fabric while wearing gloves and a mask in a well ventilated area, allow it to dry completely, then take it outside and use a hot steam iron on it. The longer you leave the iron on it, the more color it will remove. Also, the amount of steam that you use determines the amount of dye that you pull out as well. You can even mix another dye color with the discharge paste and have the color you remove replaced with that new color, this is a fun technique, for sure. You may also buy some of the dye remover in the section of the grocery store that sells the Rit Dyes, this is fun to mix a batch up with and tie up a dark colored t-shirt in some type of interesting way, and put it in the color removing bath, and let that create a beautiful and unexpected design on your shirt. You can also use Clorox or a clorox gel pen to remove color, but be aware that this chemical is tough on fabrics, not to mention has that horrible smell. If you do use the clorox, rinse it immediately and well with water and a product called Anti-Chlor to neutralize it.
Flour Paste Resist: I love this technique, which was created, I believe by Jane Dunnewold, one of my favorite fiber artists. See her recipe for the flour paste resist, along with several other types of easy resists, in this FREE download HERE. Once you've tried this easy technique that produces such lovely, sophisticated results, you'll be hooked! The basic concept is that you will mix water and flour together and apply it to fabric in a thin layer, then after it dries you can crumple it up and make the fabric "crackle," which will leave these delightfully fun areas of the fabric where you can apply watered down paint or dye to form the crackle effect on the fabric. You can write in the wet flour paste or any other manner of mark making to achieve really outstanding results. I'm so glad that Ms. Dunnewold discovered this! I used this technique in the piece titled, "Your Days of Sorrow Will End" on this page.
Deconstructed Screenprinting: This technique is fun, easy and so interesting, in terms of the patterning and achieving a "painterly" way of adding color to cloth. Kerr Grabowski has a wonderful DVD out that explains this technique beautifully! It is well worth the investment. This is one of the most interesting techniques that I have ever tried. To describe it basically, you put any type of objects that you would like to use to make impressions with under your silk screen, then squeegee over them with thickened dye mixed with your chosen color of dye. You then pick up the silk screen and the objects you put under it generally will stick to the actual screen itself, so you turn it over and leave it there to dry; or if you are impatient, you can use a hairdryer to dry the screen manually yourself. Once all of the dye is dry, you put it down on your fabric that has been pre-soaked with a soda ash fixative and apply print paste (clear dye thickener) through the screen with a squeegee, or you may add other dye colors if you prefer to go that route. It's fun to use objects such as rubber bands that make a really abstract design on the cloth. I've had great results with leaves and stems using this technique.
**I also accept commissions for dyed or patterned fabrics, so if you would like a particular kind of custom made fabric with a certain pattern on it that you can't find in the commercial world, send me a comment here or give me a call and I'll work with you to figure out exactly what you're looking for. I can be reached at 828.919.8020.**
