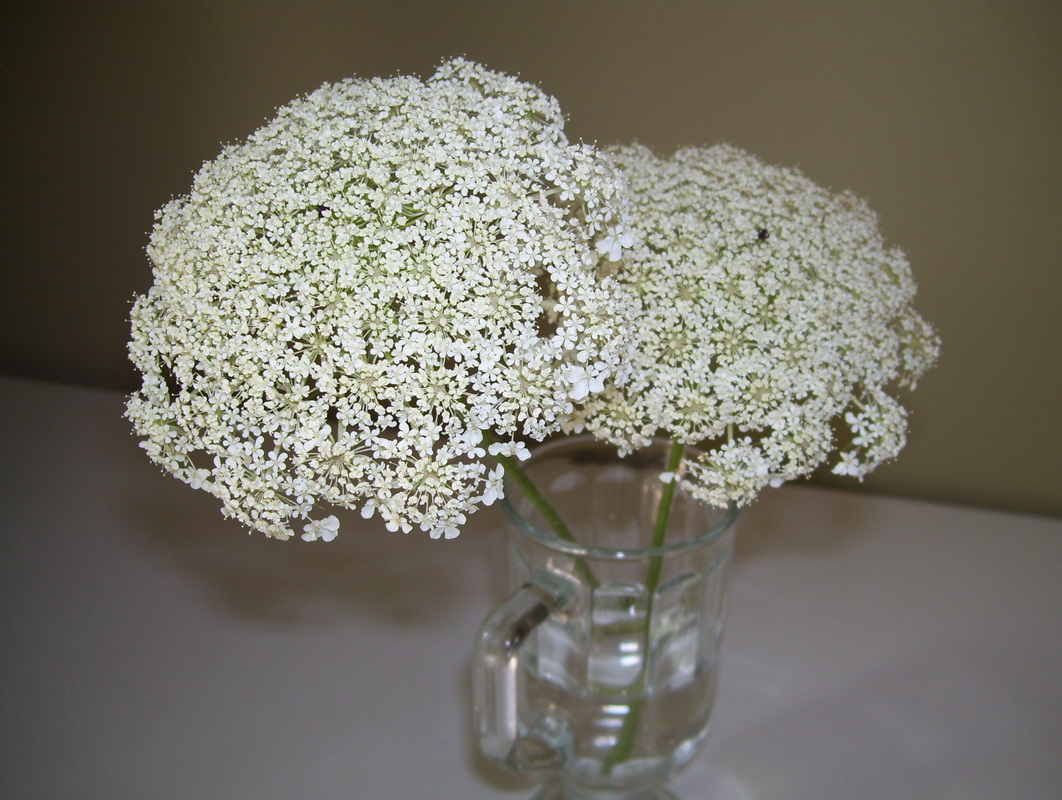
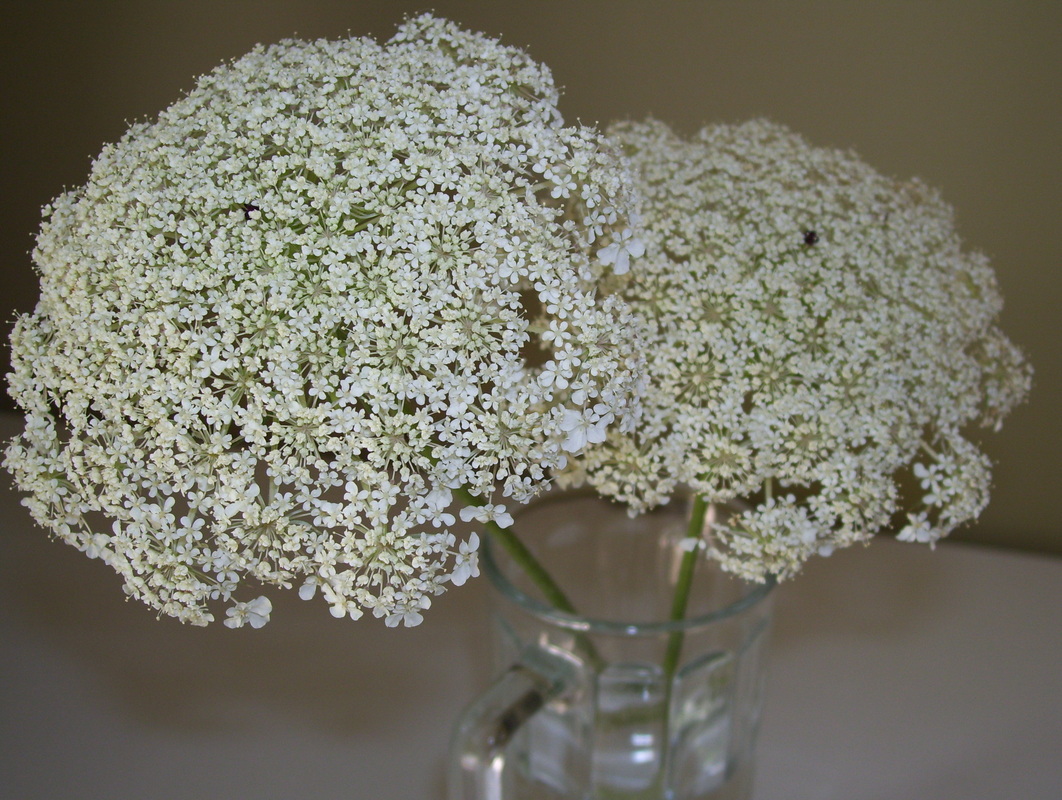
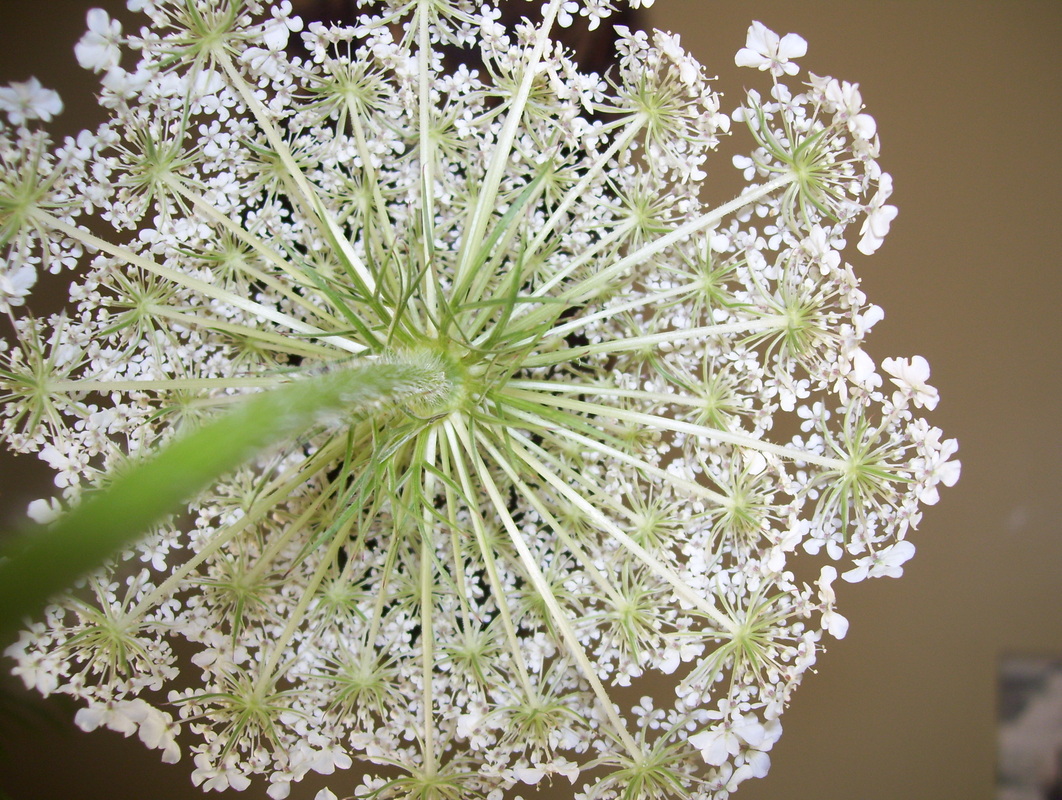
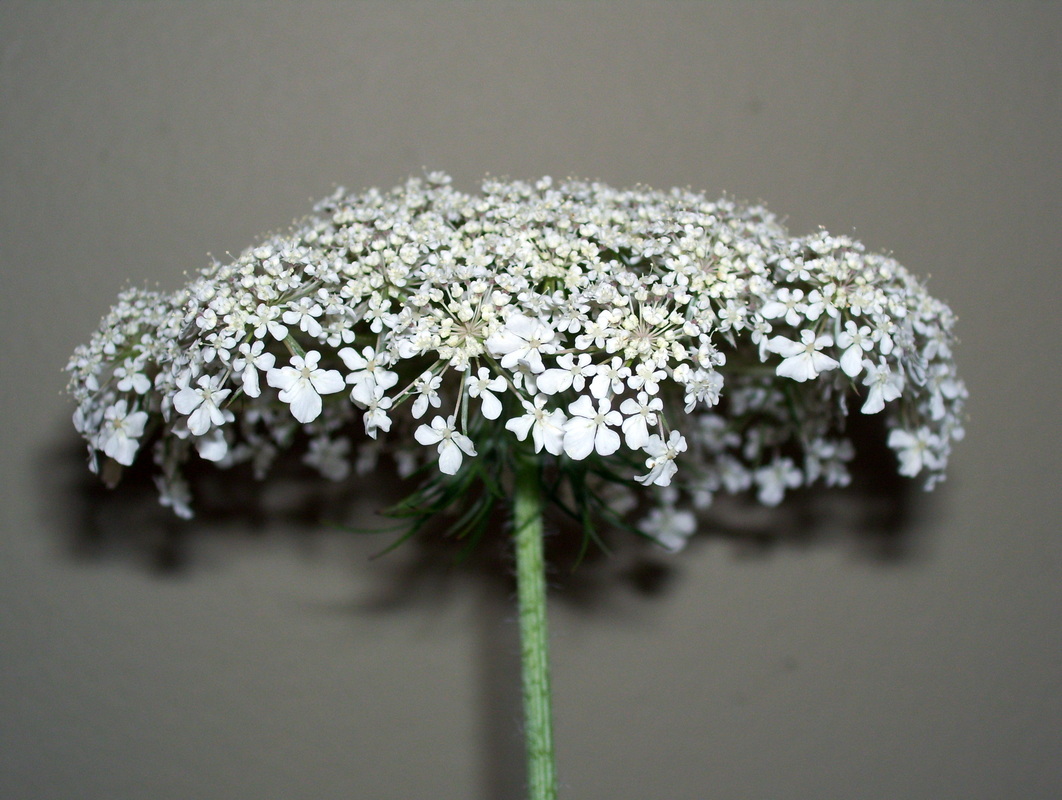
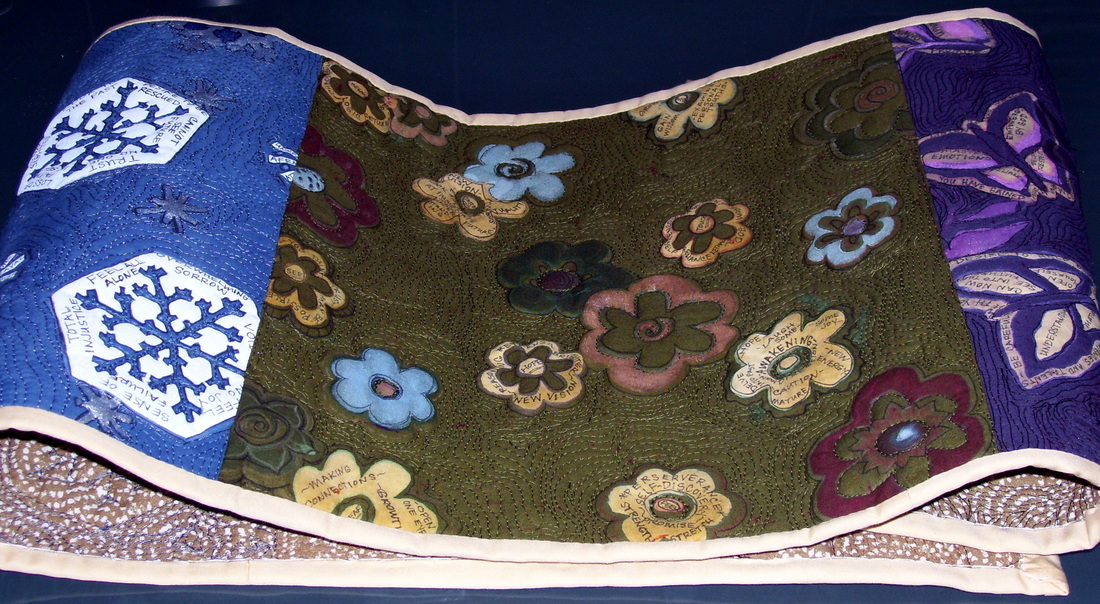
Recently, I stopped to pick a couple of wildflowers, because from a distance they are beautiful; then up close, they are unbelievable! There must be a thousand or more little tiny perfect flowers with four petals within this one massive flower with a single stem and no leaves. I brought them home and could not stop looking at them, then I thought, I've got to take pictures, because these aren't going to last forever--in come obsession...I must have photographed these flowers for an hour almost, shooting from every angle you can imagine! I couldn't help myself, and I kept thinking, "how can some people believe there is no God, when I'm holding in my hand living proof that there is...no one else could create something of beauty with this magnitude!" I love His handiwork, and I stop to admire it often! Simple things, like wildflowers, remind me of how precious I am to Him and how well I am taken care of! Of course, as I'm photographing and playing with them in Picasa 3 (not a bad little photo editor for free, I must say) floods of ideas and inspiration for art quilts streamed in....no telling where this may end up. Enjoy some of the photos I enjoyed if you'd like, and please, let me know what this is, if you know...
| 
| 
| 
|
Then, I started playing with the Picasa elements to see what fun could be had with these little beauties...

"Inverted colors" filter
| 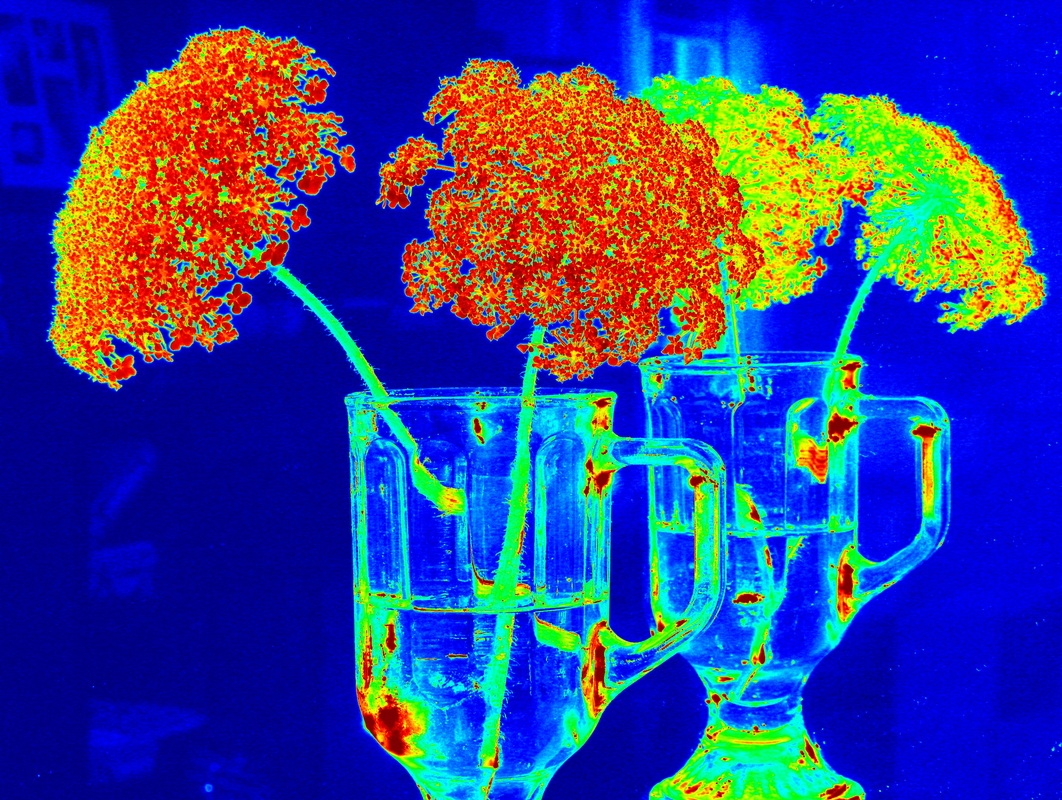
"Heat map" filter
| 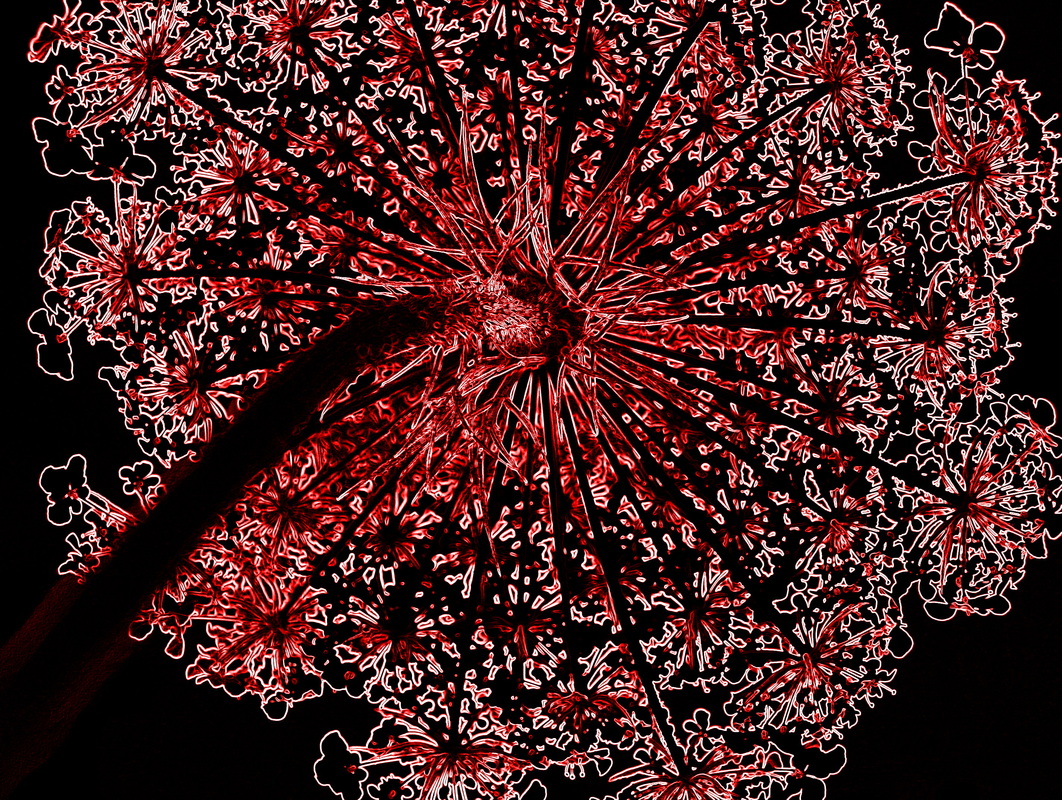
"Neon" filter
| 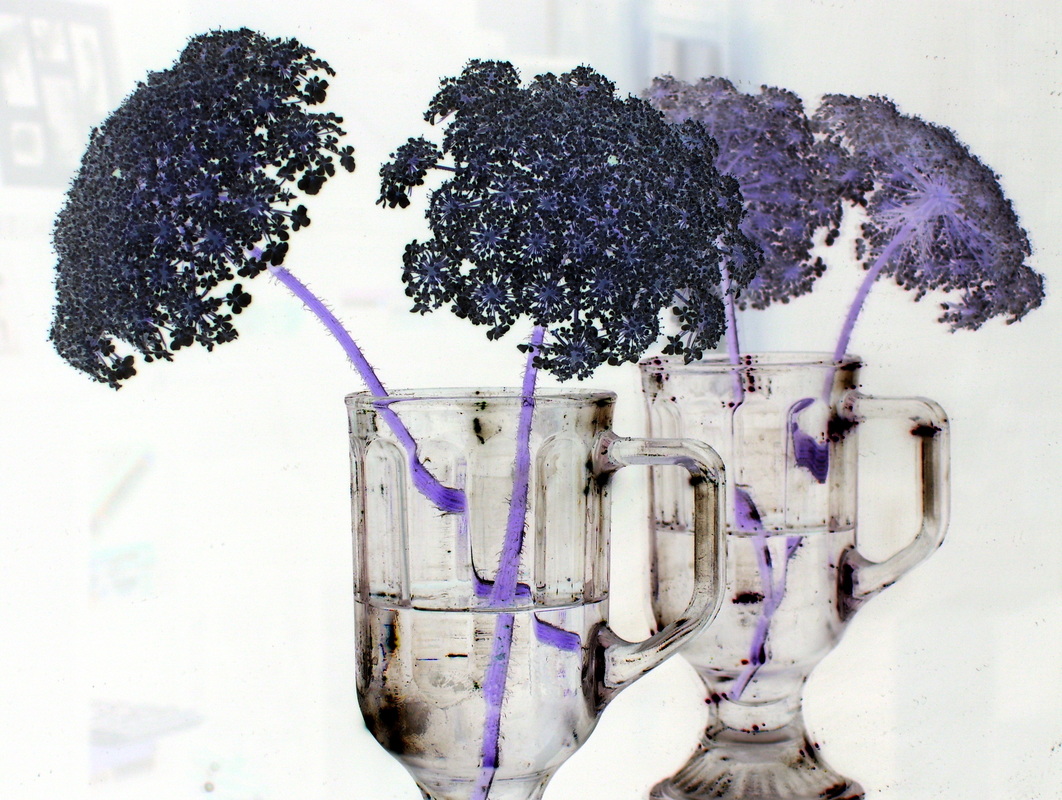
"Inverted Colors" filter
|
I think these are pretty sophisticated for free software, looks very close to my Photoshop renderings. If you want to pick a wild flower and try this, get your free Picasa download HERE. This was tons of fun, send me your shots, I'd love to see what you do with it!


 RSS Feed
